

Roman town children make in the workshop
Background: The Romans in Britain
In 55BC Julius Caesar led his troops across the English channel in a first attack on the Britons. Despite several victories he abandoned a full scale invasion. It was not until almost 100 years later, in AD43, that Roman legionaries under orders from Emperor Claudius returned. This time they stayed, for 400 years, conquering almost the whole island.
The Romans brought with them a wide variety of arts and crafts, which over time were adopted by the Celts. However, the influence was in both directions, for the Romans were open to new ideas and new styles, and a mingling of Roman and Celtic arts and culture occurred.
Roman rule had a profound impact on the lives of the Britons. The first true towns were built, on a pattern repeated throughout the Roman world, with well-constructed stone roads and walls, villas, temples, amphitheatres, shops, forums, and baths. The Celts had never experienced anything like it.
Teachers' comments: "thoroughly enjoyable with great outcomes" (click for more reviews)
Photos from workshops:
St. Peter's RC Primary, Feb 2016 - metal art
Withington Girls' School, Jan 2014 - the town
Withington Girls' School, Feb 2014 - mosaics
St. Richards RC Primary, Dec 2014 - mosaics
Themes: towns, mosaics and metal art.
Pick 2 out of 3 sessions to make a full day.
Main activities (follow links for full details):
1. Learn about Roman and Celtic towns and types of Roman building from photos plus a game
2. Make a Roman town
1. Learn about mosaics from photos and real mosaics
2. Make Roman mosaics (large or small, see below)
1. Learn about gold, silver and bronze art from photos and replicas
2. Make a torc and a piece of embossed metal art

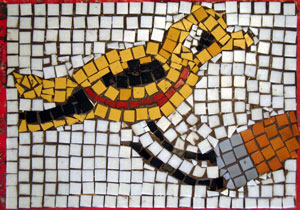
Part of the Battersea shield, which children can make using gold foil and permanent marker (click for larger version)
Suitable for Year 4-6
The activities are challenging, but are suitable for most year 4s - see below for more details.
Fee: £239 Max. 32 children.
To Book, email Tony North: tnorth67@hotmail.com or tel: 0161 224 6445
In the Romans in Britain workshop children are challenged to create artefacts using high quality materials and methods. They learn about the lives of the Romans and Celts through enjoyable and educational activities, and produce artwork you can proudly display.
Mosaic made by Y4 children at QEGS in Blackburn (click for larger version)
Background
info on the artefacts
My Italy photos, 2013
- photos of Rome, Naples, Pompeii, Herculaneum, Ostia, and more
Sculptures for sale: I will have genuine Roman coins for sale at £3 each, plus Roman carvings (unpainted), at £2 each. Click for larger versions.


Lesson Plan: Towns
1. Roman Towns & game (45 mins)

Look at pictures of reconstructed Celtic villages and houses. Compare to Roman towns and buildings.
Look at photos of real Roman buildings and discuss: houses, villas, shops, forum, theatre, amphitheatre, baths, temple, and city walls and gates.

Amphitheatre at Caerleon, S.Wales
Discuss what a citizen might have done in these locations, and how life might have been different for someone living in a Roman town versus a Celtic village.
Game: look at photos of buildings from the Roman empire and guess what sort of building they are.
Another 'name the building' game
Before break we will set out the materials for the town making.
2. Make a Roman Town (90+ mins)

click to see larger version
Children make a model of a Roman town, by cutting out card 'nets' and folding and sticking them together. Different groups of children make the sorts of buildings discussed earlier (except for baths which are very complicated shapes). Two town planners paint a street grid on a piece of hardboard (approx 60X90cm), and decide where each building will go, thinking about ideal locations.
The town is a large and complex activity and it is unlikely the class will finish it by lunchtime.They will continue to work on it in the afternoon after making their artefact (weapon/armour or mosaic).

Please note that the town and weapon making require complex skills such as cutting, folding and gluing accurately, as well as following written instructions. This means the workshop will be too hard for some year 4s. If you are in doubt, I recommend the mosaic option.
To help prepare children for the day you can do two things:
1. Practise some of the art skills in advance, especially scoring with scissors and ruler, and making 3D shapes from nets.
2. On the day of the workshop, have as many adults as possible in the class
to help (for both the morning and afternoon). You could invite parents in if TAs are in short supply.
Frog mosaic from Pompeii (one of the large mosaic options)
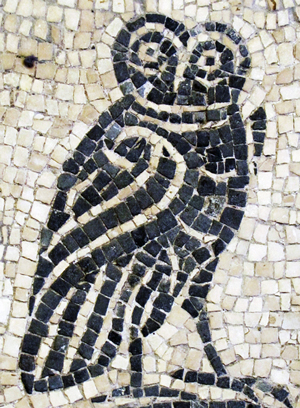
Owl mosaic, another of the large options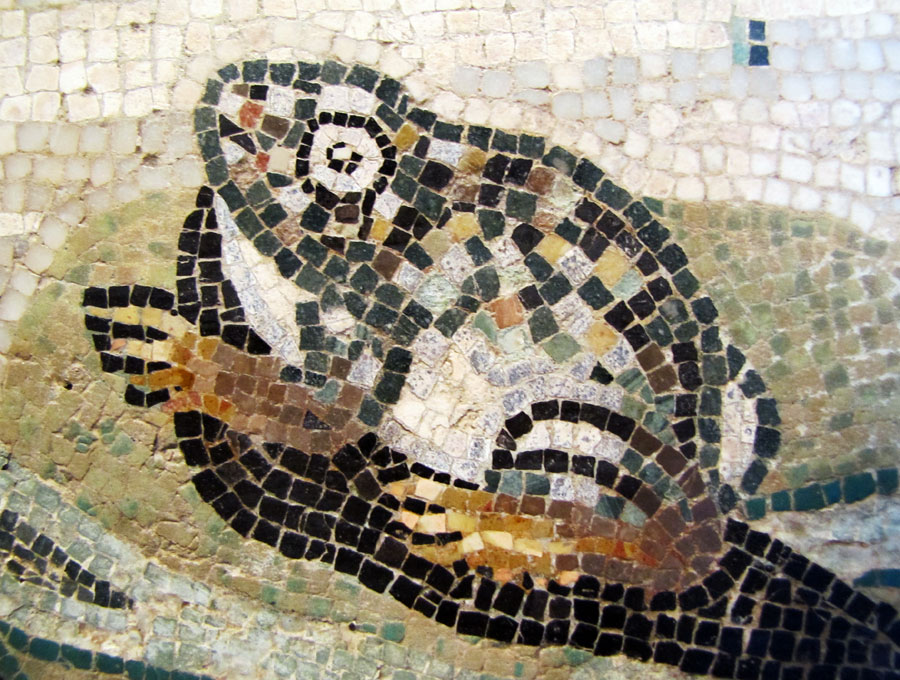
Lesson Plan: Mosaics
1. Learn about Roman Mosaics (30 mins)
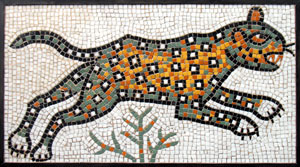
Leopard mosaic seen in lesson: click for large version
Children learn about mosaics through photos, which show them in situ in homes, and in museums. We see how and why mosaics were made, and children pass round 3 real mosaic tiles from Rome. We look at the various styles, from patterns to representations of real life and mythical figures and monsters. Children also see my leopard mosaic, as well as an example of the sort of mosaics they will be making.
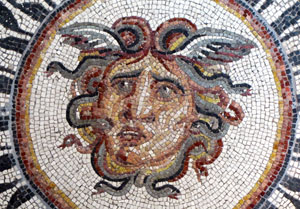
Roman mosaic showing Medusa
For the rest of the session there are 2 options: small or large mosaics
2. Make Small Mosaics (90+ mins)
Next children make Roman mosaics, using modern glass tiles painted various colours to look like the kinds of stone or pottery tiles used by the Romans. The cement is made from sand and glue and is safe. It is spread onto hardboard bases and dries in about 2 hours, producing a high quality, long-lasting work of art.
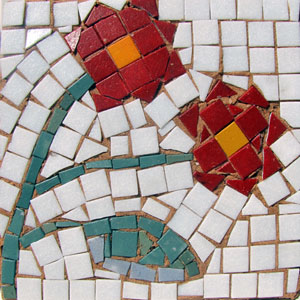
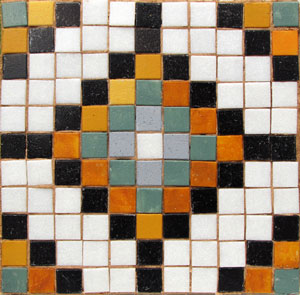
For this option, each child makes their own 20cm square mosaic. They can copy a Roman design from photos. First they are shown how to mix sand and glue to make the cement, and how to spread it on a wooden board, and then how to apply the tiles to make a beautiful picture.
OR
2. Make larger mosaics (90+ mins)
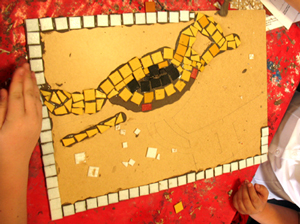
Making a mosaic at St. Joseph's RC Primary, Sale
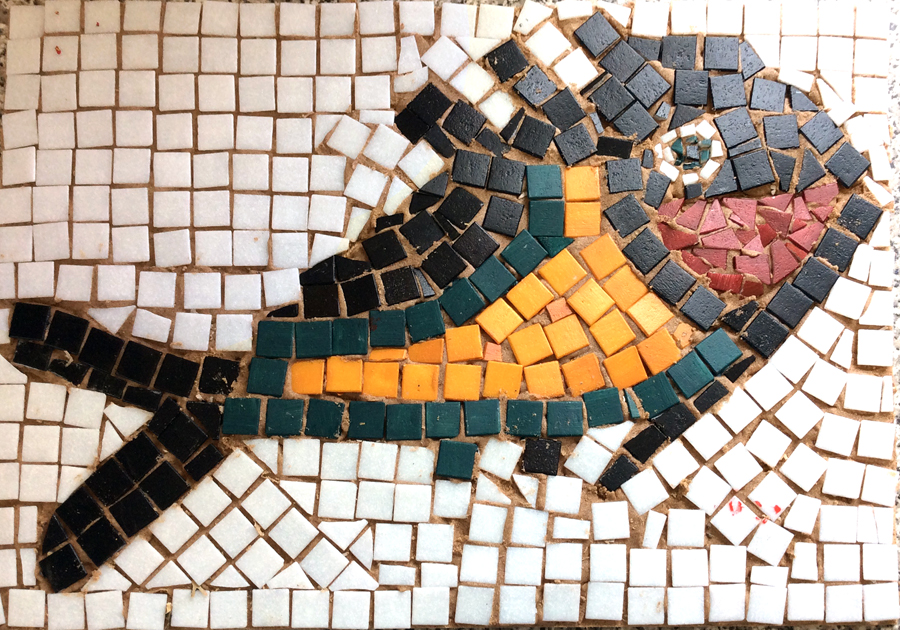
If you prefer you can make larger, more striking pictures such as a bird, frog or fish. Children work in groups of 4 or 5 on a 35x50cm board. A maximum of 8 large mosaics can be made per class. Photos are provided as well as templates.
The finished bird by children at St. Joseph's RC Primary

Mosaic of a hyena made by y4 children at QEGS in Blackburn (click for larger version)

Torc made at St. Richard's RC Primary, Manchester
Lesson Plan: Roman and Celtic Metal Art
1. Look at Roman and Celtic Metal Art (30 mins)
Children see replicas of Roman and Celtic artefacts, and discuss what they are (function/use), who might have used them, what they are made of, and their artistic style (Roman art is realistic, Celtic art features curves, circles and less realistic representations of animals and people). I also show photos of real artefacts on the whiteboard.

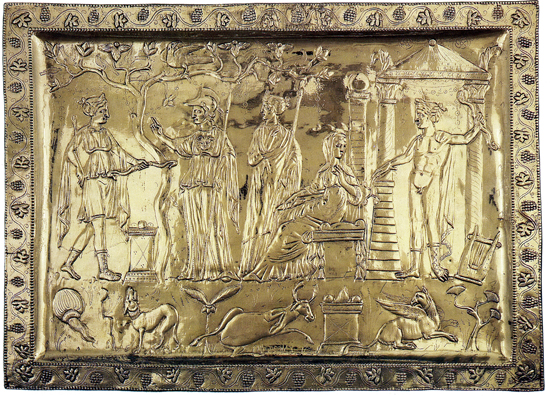
Artefacts seen: Celtic torc, mirror, and shield, two Roman embossed silver plates (one is a copy of a plate from the Mildenhall treasure - see above, and the other is a copy of part of the Corbridge lanx showing goddesses), and real Roman coins. Children will also see my versions of the items they will make from foil. Click here to see these copies.
2. Make Embossed Metal Art (60 mins)
The children now make beautiful items of metal art using gold, silver or copper foil, specially designed for embossing. Most children work on their own item with a few working in pairs on more elaborate pieces (such as the famous Battersea shield).
Click here to see all the items as well as the originals on which they are based.

Copy of Celtic coin children will make
Using a pen, children trace over lines on a printed template onto the foil underneath. They then emboss the lines to make them stand out clearly, using a sharp pencil and a soft mat. Finally they cut out the foil and glue it to a card backing to protect it.

Dancing girl from the Mildenhall Treasure
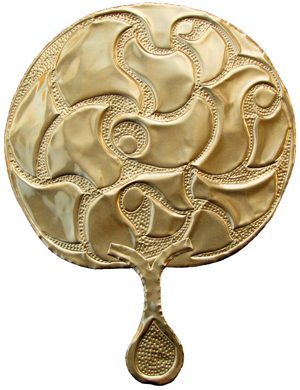
The Old Warden Celtic mirror (for a pair to make)
As the foil is very easy to damage, children with difficulties in tracing over lines will use gold and silver card instead of foil. The card is still very effective, and they can make several different items as it is easier, quicker, and less costly.
3. Make Torcs (45 mins)

The Great Torc from Snettisham
Next, children work in pairs to make a Celtic torc. This is a necklace made from twisted metal, often worn by elite Celtic warriors. The pairs hold a loop of garden wire with sticks and twist. They add plasticine for the ends, shape the wire into a circle, engrave the plasticine with a pencil and paint the torc gold or silver.

Torc made by Y4 children at St. Joseph's RC Primary
4. Game (15 mins)
If any time remains we will play a game in which children see photos of Roman or Celtic metal art and try to say whether it is Roman or Celtic.
Game
- can you tell if an artefact is Roman or Celtic?